Master Your WordPress Migration via cPanel: A Complete Strategic Guide
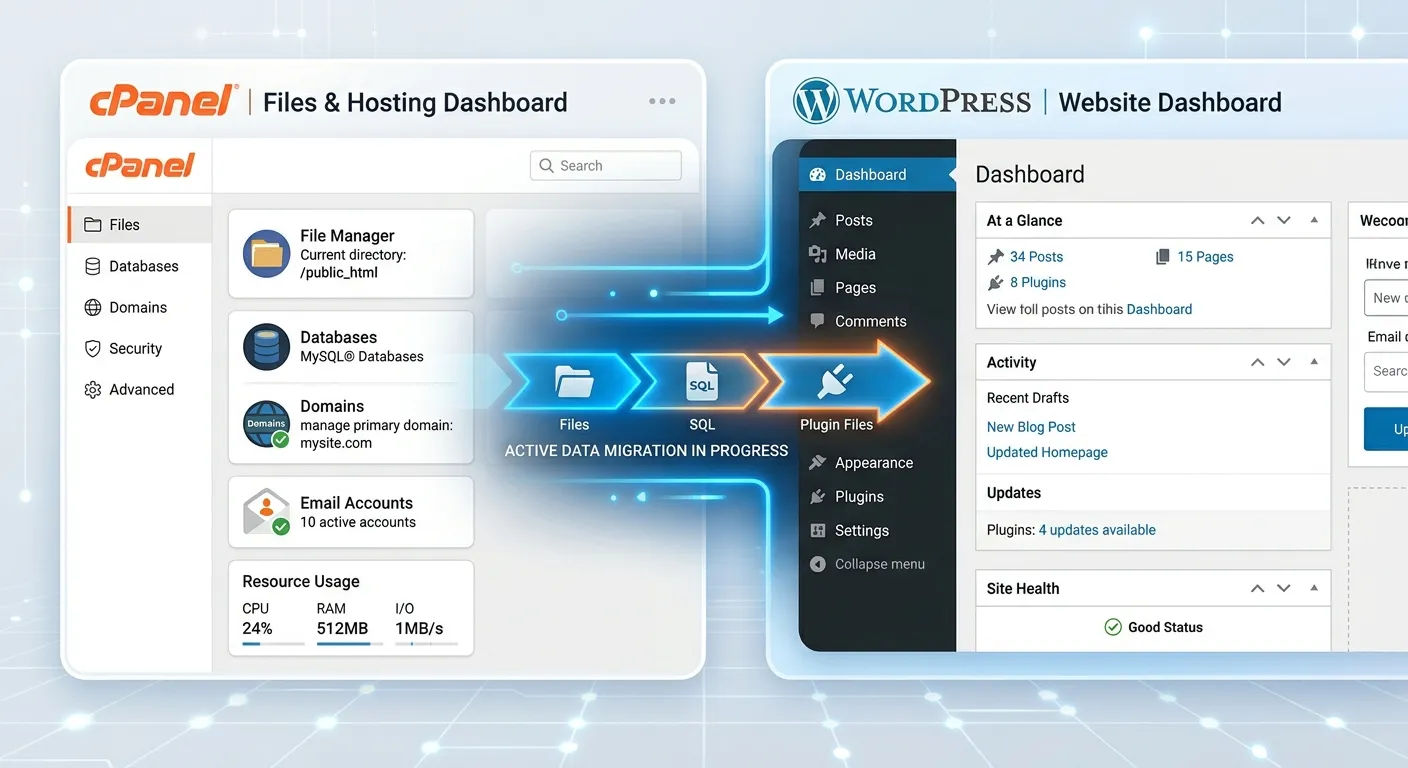
Expertly transferring your WordPress site using cPanel is a pivotal skill for webmasters and agencies. This definitive guide provides the actionable insights, advanced techniques, and strategic planning you need to execute a flawless, zero-downtime migration.
WordPress cPanel Migration: Strategy & Methodology
Choosing the right migration path is critical for security, speed, and data integrity. Explore the primary methodologies for moving your WordPress site via cPanel's powerful toolkit.
The Granular Control of Manual Migration
Manual migration via cPanel's File Manager and phpMyAdmin offers unparalleled control, ideal for complex, large-scale sites or environments with strict security policies. This hands-on approach involves individually transferring your `wp-content` folder, exporting/importing the SQL database, and meticulously updating configuration files like `wp-config.php`.
While it demands technical proficiency, it eliminates dependency on third-party plugins and provides a deep understanding of your site's architecture. This method is highly recommended for developers and agencies like a strategic Content Management Agency that prioritizes complete audit trails and customization during the transfer process.
PRO TIP: Regardless of your chosen method, always perform a full backup using cPanel's"Backup" wizard or a reliable WordPress backup plugin before initiating any migration steps. Test the migrated site on a subdomain or staging area (often creatable via cPanel) before changing your domain's DNS. This"migrate, then test" protocol is non-negotiable for professional outcomes.
Core Benefits of a cPanel-Managed WordPress Migration
Executing your WordPress migration through cPanel isn't just a technical process; it's a strategic move that unlocks significant advantages for security, control, and long-term site management.
Unified Server-Side Control
cPanel provides a single, standardized interface for all critical operations: file management, database administration, email configuration, DNS zone editing, and SSL certificate installation. Managing your entire WordPress migration from this centralized dashboard eliminates context-switching and reduces errors.
Enhanced Security & Isolation
Migrating manually via cPanel allows you to audit every file and database entry. You can set precise file permissions (chmod) via File Manager, create isolated MySQL databases with unique users, and implement security measures before the site goes live, creating a more secure foundation than automated"black box" transfers.
Database Optimization Opportunity
The migration process is the perfect time to clean and optimize your WordPress database. Using phpMyAdmin in cPanel, you can remove unnecessary data (old revisions, spam comments, transient options) before import, resulting in a faster, leaner site. This proactive optimization, much like the principles in our Core Features That Set Waravel Apart, delivers immediate performance gains.
Predictable Cost & No Vendor Lock-in
cPanel is nearly ubiquitous in shared and reseller hosting. Mastering migration within it means you're not dependent on proprietary migration services that charge per transfer or lock your data into their ecosystem. This skill gives you the freedom to move between hosts confidently, controlling costs.
Integrated Staging & Development
Many cPanel hosts offer"Subdomains" or"Addon Domains" features. You can use these to create a staging area (e.g., staging.yoursite.com) for testing the migration thoroughly before switching your live domain. This integrated, low-cost staging solution is invaluable for risk-free development and updates.
Skill Transferability & Team Scaling
The knowledge gained from a cPanel-based WordPress migration is highly transferable across thousands of hosting providers. This standardization makes it easier to document processes, train team members, or hire specialized staff who can immediately contribute, as the environment is familiar. It's a cornerstone skill for any effective web operations team.
The Definitive Step-by-Step WordPress Migration via cPanel
Follow this comprehensive, battle-tested checklist to migrate your WordPress site from one cPanel host to another without losing data, breaking functionality, or harming your SEO.
Pre-Migration Audit & Backup
Do not skip this foundational step. Log into your source site's WordPress admin and cPanel.
- Inventory Plugins & Themes: Note all active plugins and your current theme. Check for any that are host-specific (e.g., caching plugins tied to your old host's infrastructure).
- Full cPanel Backup: Navigate to cPanel's"Backup" tool. Generate and download a"Full Backup" to your local machine. This is your ultimate safety net.
- WordPress-Specific Export: Consider using the native WordPress"Export" tool (Tools > Export) for an additional XML backup of your content.
- Document Critical Data: Record your current database name, username, and prefix (found in `wp-config.php`).
This audit phase mirrors the strategic planning advocated in our Strategic Brand Building Guide—successful execution always starts with a thorough assessment.
Prepare the Destination cPanel
Log into the cPanel of your new hosting account. Your goal is to recreate the necessary environment.
- Create a MySQL Database and User: Use the"MySQL® Databases" wizard. Create a new database (e.g., `new_wp_db`). Create a new user with a strong password. Assign the user to the database with ALL PRIVILEGES.
- Upload WordPress Core Files: You have two options: 1) Use"Softaculous Apps Installer" to install a fresh, clean WordPress instance (then delete its default `wp-content` later), or 2) Download the latest WordPress.zip from wordpress.org and upload it via"File Manager," extracting it into your public_html (or desired subdirectory).
- Configure PHP Version: Use"Select PHP Version" to ensure it matches or exceeds your old server's version for compatibility.
Transfer Files & Database
The core data transfer. Precision is key.
- Transfer `wp-content`: In your OLD cPanel's File Manager, compress the entire `wp-content` folder into a .zip file. Download it. In your NEW cPanel, navigate to the WordPress root directory, delete the empty `wp-content` folder, and upload your .zip file. Extract it.
- Export the Database: In your OLD cPanel, open phpMyAdmin. Select your WordPress database. Click"Export." Choose the"Custom" method, ensure format is"SQL," and select"Add DROP TABLE / VIEW / PROCEDURE statement." This creates a clean import file. Export and download the `.sql` file.
- Import the Database: In your NEW cPanel's phpMyAdmin, select the new, empty database you created. Click"Import." Choose the downloaded `.sql` file. Set character set to `utf8mb4`. Execute the import.
For migrations aiming at a more powerful framework, the conceptual process is similar but enhanced with automation, as explored in WordPress to Laravel Migration resources.
Reconfigure & Update
Your data is in place, but the site won't work until it's pointed correctly.
- Edit `wp-config.php`: In the NEW site's File Manager, locate `wp-config.php`. Edit it to reflect the NEW database name, username, and password you created in Step 2. Also verify the `$table_prefix` variable matches your old one (if unchanged in the SQL import).
- Update Site URL (if domain is changing): If you're moving to a new domain or subdomain, you MUST update the WordPress Address and Site Address. You can do this via phpMyAdmin by running a SQL command:
UPDATE wp_options SET option_value = 'https://yournewdomain.com' WHERE option_name IN ('siteurl', 'home');(Replace `wp_` with your prefix if different). - Handle Serialized Data: Simple SQL search/replace for URLs can break serialized arrays in themes/plugins. Use cPanel's File Manager to upload a dedicated search-and-replace script (like"Better Search Replace" plugin files) or perform the replace directly in the SQL file before import using a desktop tool.
CRITICAL SECURITY STEP: After a successful migration, immediately log into your new WordPress admin dashboard. Go to Settings > Permalinks and simply click"Save Changes." This flushes the rewrite rules. Then, regenerate any security keys in `wp-config.php` using the official WordPress key generator for enhanced security.
Post-Migration Validation & Go-Live
Never assume the migration worked. Rigorous testing is mandatory before directing traffic.
- Test on a Temporary URL: Use the cPanel-provided temporary URL (or your staging subdomain) to browse the entire site. Check internal pages, forms, images, scripts, and admin functionality.
- Clear Caches: Clear any caching plugins (W3 Total Cache, WP Rocket) and browser cache. Use cPanel's"Cache Manager" if your host provides it.
- Update DNS: Only after successful testing, update your domain's nameservers or A record at your domain registrar to point to the new host's IP address. DNS propagation can take 24-48 hours; during this time, you can use a local `hosts` file edit to view the new site.
- Monitor & Finalize: Once DNS propagates, set up SSL (via cPanel's"Let's Encrypt" or similar), configure email accounts if they were also hosted, and implement a new backup schedule on the new host.
This final validation ensures a seamless User Migration experience, where visitors encounter no broken links or errors.
WordPress cPanel Migration: Expert FAQs
Addressing the most common and complex questions surrounding WordPress Migration Cpanel projects.
The most common point of failure is incorrect handling of the site URL within the database. When you move a site, its database still contains hundreds of references to the old domain (e.g., `http://olddomain.com`). If these are not updated to the new domain (e.g., `https://newdomain.com`), the site will attempt to load assets from the old location, resulting in broken styles, images, and links. To avoid this: 1) Use a reliable search-and-replace tool that handles serialized data safely (like the"Better Search Replace" plugin, run on the destination site), or 2) Perform the replace directly in the SQL file before importing it into the new database. Never use a simple text editor for `.sql` file replacement, as it will corrupt serialized data.
Ready to Execute a Flawless WordPress Migration?
Whether you're planning your first migration or managing a portfolio of client sites, having the right strategy and support is everything. Leverage this guide as your blueprint, and remember that for mission-critical projects, partnering with experts can save time, prevent data loss, and ensure optimal performance.
For more insights on transforming your digital presence, explore our resources on Migrate WordPress To Laravel Effortlessly or delve into advanced developer tools in our Top Laravel Packages Guide.